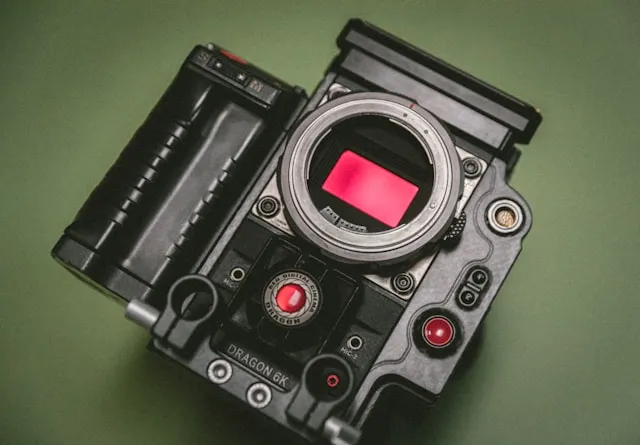
Bayer Filters in Cameras

Oversimplified.
This article is very much oversimplified. It isn’t going to talk about the physics of the photoelectric effect, how exactly coloured filters work with different wavelengths of light, or about well depths in CCD or CMOS sensors.
A simple black and white camera.
Imagine we build a 4 pixel camera. This takes square pictures in a 2 x 2 grid. The camera uses some for of Active Pixel sensor to detect light. The exact physical process varies by sensor type, but all images follow the same basic process.
- Reset the sensor to a known “zero” state.
- Expose the sensor to light.
- For the length of the exposure photons are allowed to strike a set of electrons in the sensor, exciting them via the photoelectric effect.
- The number of these hits are “counted” on the silcon substrate of the sensor.
- The sensor is no longer exposed to light.
- The sensor is read out and the image is taken.
So imagine you take a photo of an image that is dark in the bottom left, very bright in the top right, and in the middle in the other two corners. The output could be an array like this, with 0 representing black, 255 white, and the numbers in between shades of grey.
readout = [
	[
		128, 255
	],
	[
		0, 128
	]
]
Adding colour.
Previously we had a 2 x 2 pixel camera with 4 pixels. Given my Nikon camera has 45.4 million pixels, this is a very low resolution camera. However, we are about to make it worse.
We will place filters for the three Additive Primary Colours, Red, Green and Blue in front of the individual pixels in the sensor. One problem is we have 4 pixels, and 3 colours. So the general solution is to use a Bayer filter. The standard layout is RG on the top row, then GB on the bottom row. This filter, usually made out of plastic, filters what wavelengths of light are able to pass through it. Thus only red light strikes the red pixel, only green light strikes the green pixels, and only blue light strikes the blue pixel.
Although in reality, we now only have a single pixel camera, just one with 4 subpixels for the different colours. We take the photograph using the exact same method as before, and then some software combines the pixels to give us a single pixel with 3 elements for colours.
Imagine now we shine a very bright yellow light at the camera. We would expect the readout from the sensor to be something like.
readout = [
	[
		255, 255		// Red, Green
	],
	[
		255, 0			// Green, Blue
	]
]
After averageing the two green subpixels, we would have a Red, Green, Blue pixel that is [255, 255, 0].
And if we had some dull green light, we would get
readout = [
	[
		255, 255		// Red, Green
	],
	[
		0, 255			// Red, Blue
	]
]
And if we had some very targeted green light, maybe a laser pointer, which was only striking the top right subpixel. We would get a readout like this.
readout = [
	[
		0, 255			// Red, Green
	],
	[
		0, 0			// Green, Blue
	]
]
And we would need to average that to a RGB array of [0, 128, 0].
Alternatives to Bayer Filters.
There are other options. Some scientific equipment will use the same sensor, but swap out filters in front of it. This has the advantage of being higher resolution, using the exact same pixel/subpixel layout for each pixel but comes with the notable downside you can’t take a photograph of anything that is moving, as it will usually take several seconds to capture a single frame.
The other alternative is different arrangements. Instead of the 2x2 RGGB Bayer layout, you could use a layout like the Fujufilm X-Trans. This uses a 6x6 layout.
xtrans_layout = [
	[
		"G", "B", "G", "G", "R", "G"
	],
	[
		"R", "G", "R", "B", "G", "B"
	],
	[
		"G", "B", "G", "G", "R", "G"
	],
	[
		"G", "R", "G", "G", "B", "G"
	],
	[
		"B", "G", "B", "R", "G", "R"
	],
	[
		"G", "R", "G", "G", "B", "G"
	]
]
Summary.
- Bayer filters are a way to capture colours in a digital camerea.
- Single pixels in the output files are made from 2 x 2 subpixel sites.
- This is called demosaicing.
- Software averages out the green pixels to build those single pixels in the output file.
(Output file is for example a JPEG image. A raw file will store the file with the raw subpixel data intact).